


Soft & spongy Idli Recipe and Video with lots of fermentation tips and troubleshooting tips. Idlis are the most healthiest and staple breakfast of South India. It is vegan and gluten free.
Grinding the idli batter is one of the best meal prepping that many people do every week for a hassle free breakfast and dinner time.
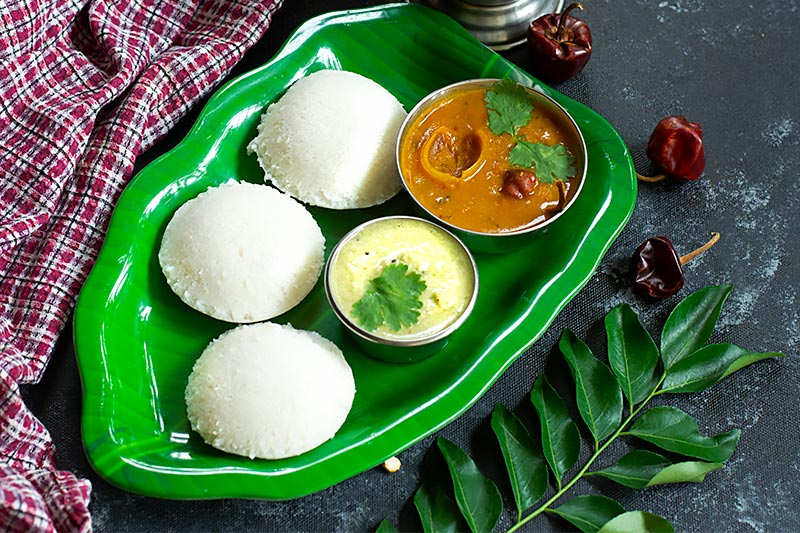
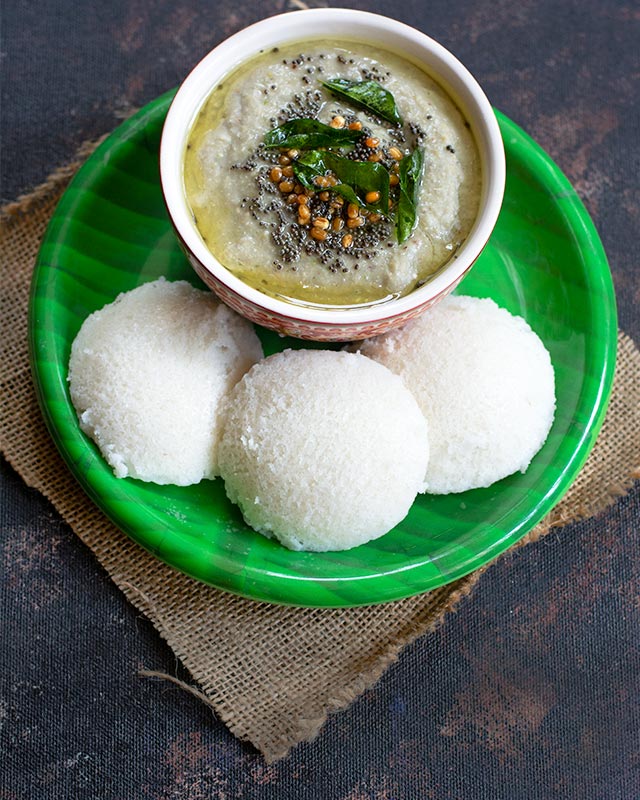
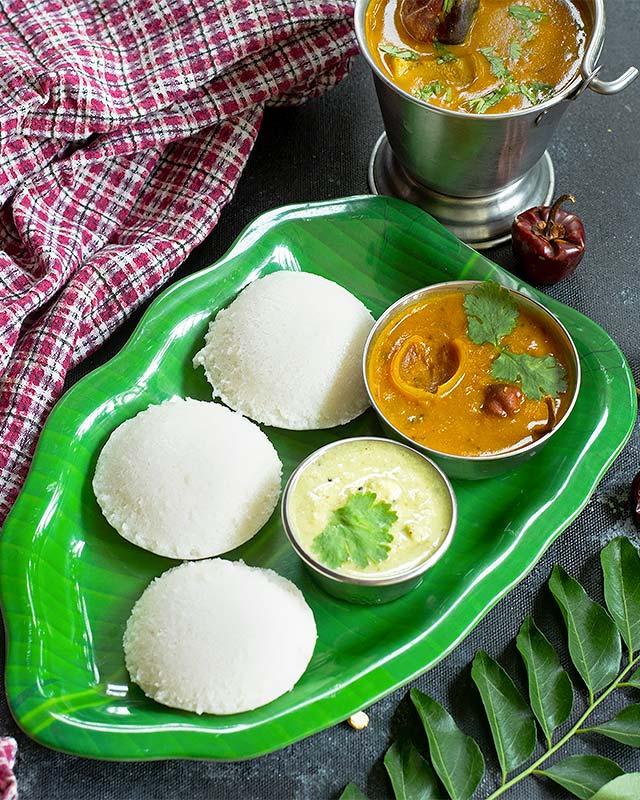
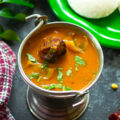
Idlis are always served with an array of chutneys, sambar and milagai podi.
Nowadays many people buy readymade idli batter from the shops for ease of use but it is always best to grind the batter at home.
It is not only hygienic but also budget friendly as it costs much less than store bought batter.

Our Favorite Video:
Grinding idli batter at home is not really that difficult.
If you are a beginner then follow all these steps precisely and you will get guaranteed soft and spongy idlis in your plate every single time.
It is also helpful if you could watch the entire video to see how simple and easy the entire process is.
It may seem daunting at first, but as you grind more batches of batter, you can go through the entire process with your eyes closed.
Let’s start with the first point of getting soft & spongy idli.
It’s all in the Fermentation.
How to get the right fermentation?
Washing: plays an important role. Wash rice multiple times to wash off the starch.
There is no magic number to determine as to how many times you have to wash rice.
It depends on the quality of rice. So wash till you are able to see the rice clearly beneath the surface of water.
Avoid washing urad dal more than twice as you need to lock in the viscosity of the dal intact.
Soaking: The time taken to soak is crucial when it comes to getting the fermentation right depending on the seasons & temperature.
During summer, soak just for 3-1/2 to 4 hours. If you soak for longer hours, the batter will over ferment and if the vessel is not big enough, the batter will overflow making a mess.
Likewise, during winter soak for longer times. The longer you soak, the higher is the fermentation.
Mixing: Make sure both the batters are properly mixed while adding salt.
Use hands to mix in the salt as the body heat plays a crucial role as well.
Using a starter: Reserve 1/2 cup of fermented batter from the previous batch and refrigerate it.
Dilute it with little water and add it to the batter. This acts as a starter and kick starts the fermentation process immediately.
Grind the batter properly: Not taking enough time to grind the batter properly to the right consistency will prevent the batter from rising well.
Make sure to wipe the sides of the grinder often during the grinder process.
The rice should be of fine grain consistency and ural dal batter should float on water.
Over grinding the batter: Pay close attention while grinding. Do not run the grinder for longer time than necessary.
This will transfer the heat from the grinder to the batter, directly affecting the fermentation.
For the given quantity, the rice should not take more than 20 mins and the dal should not take more than 15-20 mins to grind to the proper consistency.
Troubleshooting:
I followed all the steps but still the idlis turn out hard:
- You must not have mixed the batters properly. Rice batter is heavier than urad dal batter, so if you do not mix well, rice batter will settle at the bottom and the batter will not rise during fermentation making the idlis hard.
- You must not have washed the rice well.
- Always heat the water in the idli pot before placing the plates. This acts like preheating the oven.
Over cooking the idlis for a long time.
I followed all the steps but my idlis turn out flat:
- Never mix the fermented batter vigorously. It will let all the air out and the cooked idlis will turn out flat.
- The ratio of dal is higher. Every dal’s quality differ. So if your idlis come out flat, make that particular batch into dosas. And until the dal gets over, after measuring the dal, remove 2 to 3 tbsp from it before washing. The reduced quantity will work well.
- Over rinsing the dal. Do not wash dal more than once or twice.
- Not adding enough salt required for the batter. Salt along with the good bacteria acts as a rising agent. If it is less, the batter will not rise well during cooking.
I love eating idli and dosa with any of chutney like this
Kaiyendhi bhavan kaara chutney
Tomato chutney
Tiffin sambar
Flax seeds podi
Curry leaf & peanut idli podi
Video for soft & spongy idli:
Do subscribe to my YouTube Channel for more such recipes.
Soft & Spongy Idli Recipe with Video below:
Soft & Spongy Idli Recipe
Ingredients
- Idli rice - 5 cups heaped
- Whole Urad dal - 1 cup heaped
- Salt - to taste
- Water
Instructions
- Check out the video below - on how to measure, wash, soak, grind the batter in a wet grinder, how to ferment it and the entire idli making process.
To make soft & spongy idlis:
- The fermentation of the batter has to be right which has been shared in the fermentation notes above.
- Mix the fermented batter gently and do not beat it vigorously to let the air escape.
- Heat 2 cups water in the idli pot and by the time you place the idli plates in the pot, the water will bubbling and the cooking will start instantly.
- Grease the indents of the idli plates with a drop of oil in each indent.
- You can also place a damp cloth over the plate to make “thuni idlis”.
- Pour the batter into each indent filling it.
- Place the plates into the pot and close with lid.
- Steam for 4 to 5 mins over medium flame.
- Once cooked, take the plates out immediately.
- Dip a flat spoon in water and run it along the indent to remove the cooked idlis from the plates.
- Rinse the vessel in which you are going to place idlis and drain water before placing the idlis.
- This will prevent the idlis from sticking to the vessel.
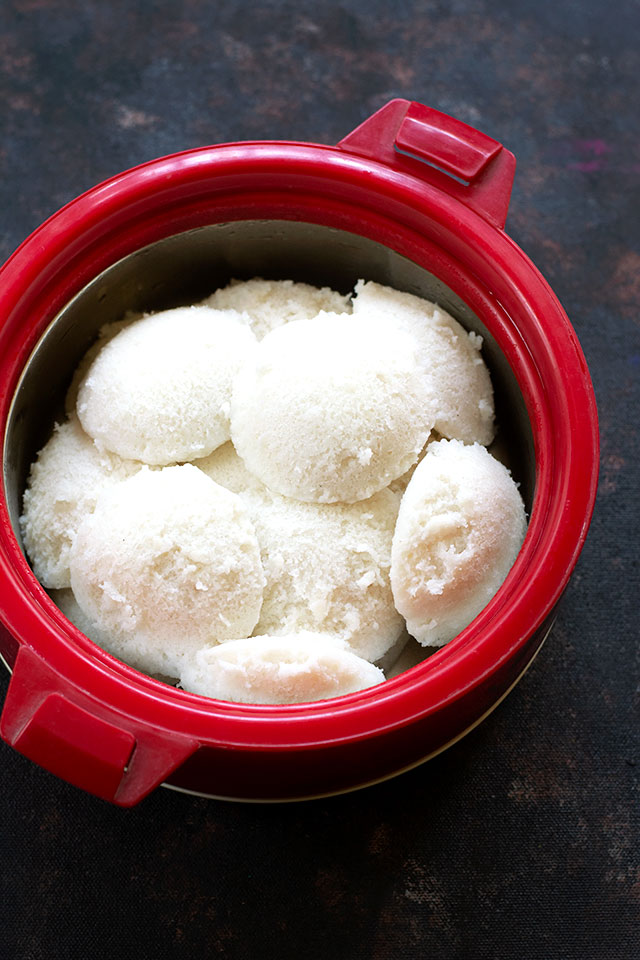
- Serve these soft and spongy idlis, piping hot with any chutney of your choice or sambar.
To make dosas from the same batter:
- Take required quantity of batter in a vessel.
- Add little water, sugar, 2 to 3 tbsp gram flour (besan) and mix it to pouring consistency.
- Make dosas as usual.
Video

Leave a Reply